Site Redirection
GateIn includes a mechanism to redirect user to a different site within the portal based on the characteristics of their browser. This is especially useful for redirecting users to a mobile optimized site when detected they are accessing the portal from a mobile device.
Redirections can be based on various criteria, specified as conditions:
-
The user agent string of the browser accessing the site
-
any properties which can be determined via javascript. This can include things like screen size, pixel density and if the device supports touch or not.
Mapping nodes between original and redirect site when performing the redirect is also available, allowing greater control over what page within the site a user will end up on when a redirect is performed.
The following sections will briefly explain how to configure and setup the site redirection service using the administration user interface.
For details on how to configure site redirects using xml configuration files, please see the Developer Guide: Site Redirection
Manage Site Redirections
Creating, editing and deleting a portal redirect requires access credentials that only an administrator may set up.
-
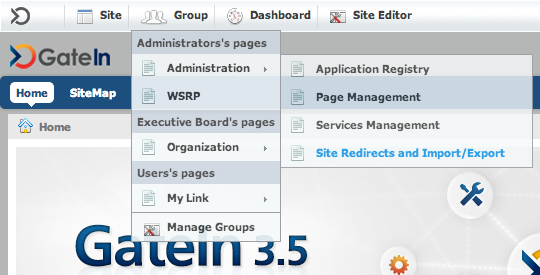
Navigate to the “Site Redirects and Import/Export” portlet under “Group” > “Administration” in the toolbar.
-
On the side menu, select the site for which a new Site Redirect rule is to be created.

-
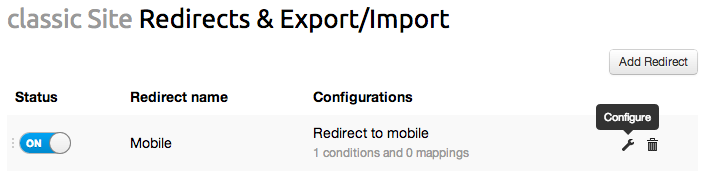
Existing Site Redirects listing will be shown, along with the “Add Redirect” button. Click the “Add Redirect Button” to add a new one or click the “Configure” (wrench icon) to configure an existing one.
-
Once a Redirect is created, a name must be given and selected the site where it will redirect to, based on the conditions to be configured. There’s also a toggle indicating wether the redirect is currently enabled (“ON”) or disabled (“OFF”). By default it will be disabled on creation.

-
The next step is to define the conditions which will trigger the redirect, clicking on the “Add Condition” under the “Conditions” section.

-
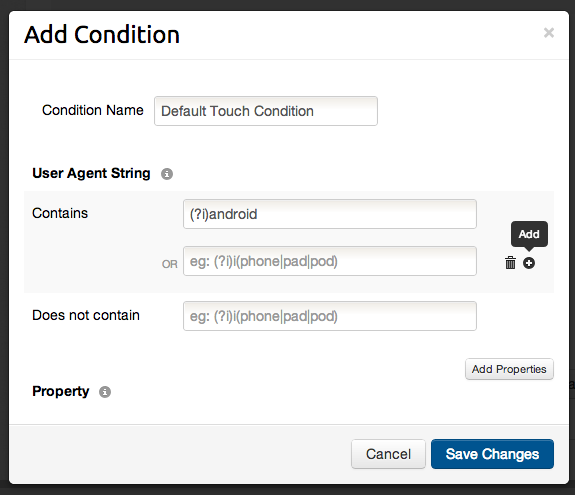
In the conditions modal, a name must be given to the Condition (a default name is created).
-
In the “User Agent String” section valid Java regular expressions should be used in the “Contains” and “Does not contain” entries, which will be evaluated against the browser User Agent string.
New conditions can be added (which will be OR’ed with existing ones) by clicking the “Add” button (plus sign icon) and existing ones may be removed by clicking the “Delete” button (trash icon).
-
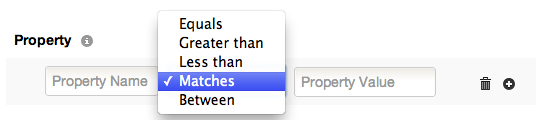
Pre-defined properties can be added to assist on condition matching, by clicking the “Add Properties” button. Different operators are available for defining these properties.
-
Once all is set, click the “Save Changes” button to create (or update, in case of editing an existing one) the condition or “Cancel” button to revert it’s creation (or the changes, in case of editing).
-
Conditions can be sorted (for performance reasons, having the less expensive ones on top, for instance) by dragging the condition row and dropping in the desired position.

-
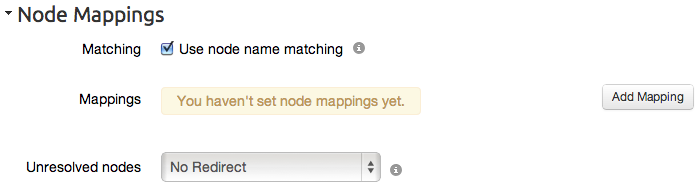
The last section of creating a Redirect is to configure Node Mappings, which will map landing site nodes to redirected site nodes. By default this functionality is enabled, it can be toggled by using the “Use node name matching” checkbox.
-
Click on “Add Mapping” button to add a new node mapping. Existing Node Mappings can be deleted by clicking the “Delete Node Mapping” button (trash icon).

-
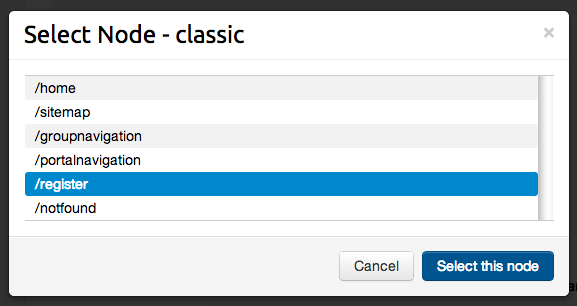
Nodes can be selected by clicking the “View Node List” button (list icon) both for the Origin and for the Redirect sites.
-
Finally, it’s possible to select a default action for unresolved nodes, by selecting from the drop-down menu.

-
With all the conditions and node mappings in place, click the “Save Changes” button in order to create (or update) the Site Redirect or “Cancel” button to cancel all the changes.
-
Redirects can be sorted (for fine-graining purposes, such as having a mobile and a touch site redirect, for instance) by dragging and dropping in the desired positon.

-
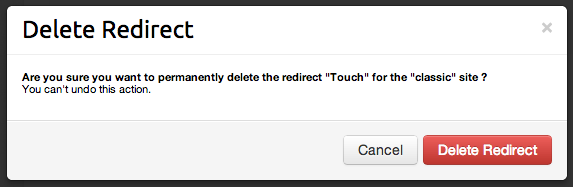
Redirects can be deleted by clicking the “Delete Redirect” button (icon trash) and confirming or cancelling in the confirmation modal, as desired.